
Use the spacing for that wall
Stud spacing comes from the wall design and its lining or cladding system. Wall height, loads, wind, timber grade and section all matter. A spacing used on one wall may not suit the next. Use the plans for the wall you are setting out.
Check the frame and the finish
NCC 2022 H1D6(4) lists the timber framing routes. The finish has its own support and fixing details too. One example is James Hardie’s ComTex guide. Section 8.2 sets framing and stud-spacing conditions for that system. Those conditions do not set one spacing for all wall products.
| Wall detail | Question to resolve |
|---|---|
| Wall height and loads | Is this the wall type covered by the framing detail? |
| Stud size and grade | Do both match the member schedule? |
| Lining or cladding | Do sheet edges and fixings have the supports they need? |
| Openings | Where are the lintel and its support studs shown? |
| Corners and wall joins | Which extra studs or backing details are required? |
Read the frame plan and product guide together. Ask the designer to resolve a mismatch before you set out the wall.
Centres are not clear gaps
Centres are measured from the centre of one stud to the next. Clear gaps are measured between their faces. Keep that distinction when marking the plates or entering a spacing calculation. A wall’s overall length is not always the distance between its end stud centres.
Count a simple line
Assume 3.6 m between the first and last stud centres. Use 0.6 m centres for this counting example:
3.6 ÷ 0.6 = 6 spaces.6 spaces + 1 = 7 stud positions.
This is an assumed layout, not a rule choosing 600 mm centres for a wall. It has no openings or extra support studs.
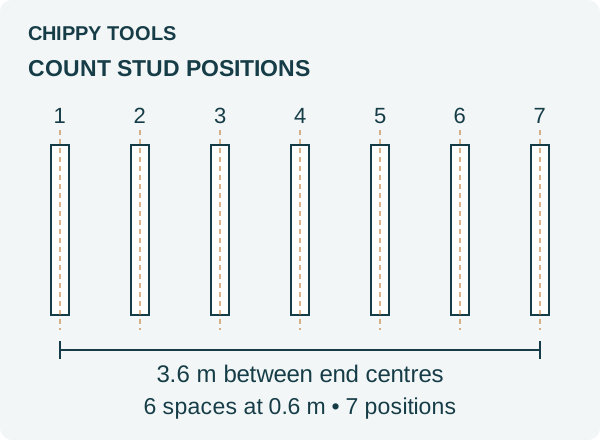
Chippy Tools counting example. The dimensions are assumed; no structural spacing is prescribed.
Turn positions into a timber list
Mark corners, wall joins, openings and lintel supports on the layout. Some details add members; others replace positions in the plain run. Do not add a fixed number of studs per door or window. Follow each detail and avoid counting shared members twice.
Keep full-height studs, short studs, plates and noggins as separate lines in the take-off. Add a waste allowance only after the net list is clear. The stud and joist take-off guide explains the counting method for other lengths.
Keep changes linked to the plan
A wider opening or different cladding can change the frame details. Send the proposed change to the designer before ordering. Keep the accepted plan version with your list. Use the MGP grade guide to check the timber marks at delivery, and the code-check sheet to record open questions.
Sources
Publisher links identify the standards. This review did not inspect or reproduce their licensed span tables.
Related building rules
More Australia rules